Overview
Installing PageCarton by default has been made to be an easy process. Find the recommended installation instruction here "Installing PageCarton". First, this is to ensure the most secured options are set as preferred. It is best practice to ensure that system executable files are stored outside outside of the web root (e.g. htdocs, public_html, www, etc); so PageCarton by default installs all core files in a directory one step outside of the web root. It is recommended to always use the default installation settings unless you know what you are doing. It is however possible to choose a custom directory to install PageCarton in. More like, to change where PageCarton should look for files.
This is especially useful on servers where the webserver is not able to write into the directory outside the web root, in this case, you would have to install PageCarton into the web root itself. Meanwhile, this method can be used to make PageCarton core install to the web root. In this tutorial, that is exactly where we will be installing. Your own directory may be anywhere you choose, so far you have the right permissions set.
Download PageCarton Core
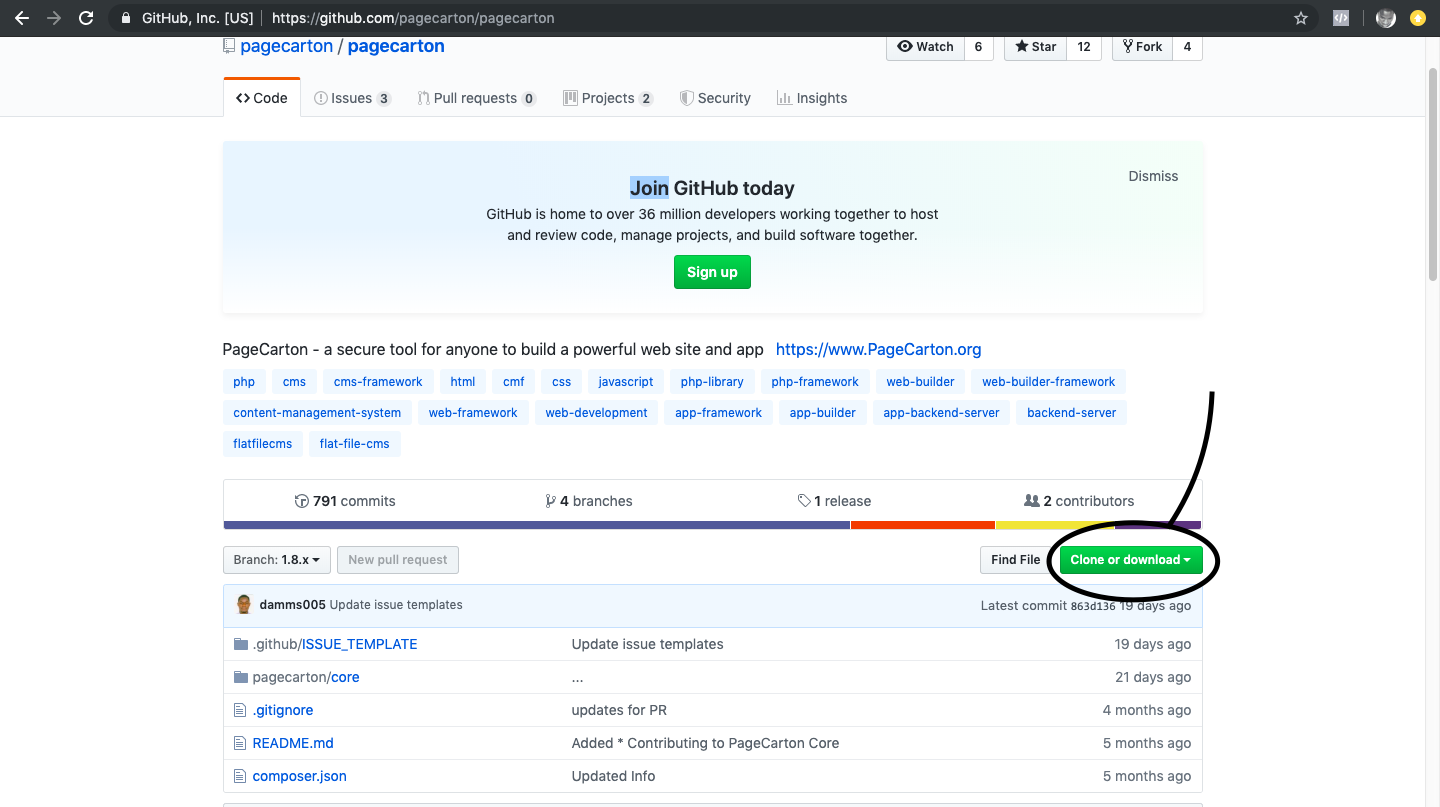
It is time to download the PageCarton Core files. The best place to get this is to download the ZIP archive from Github. This gets you all the core files without any other confusing files. You may also clone the git repository https://github.com/pagecarton/pagecarton to your computer.
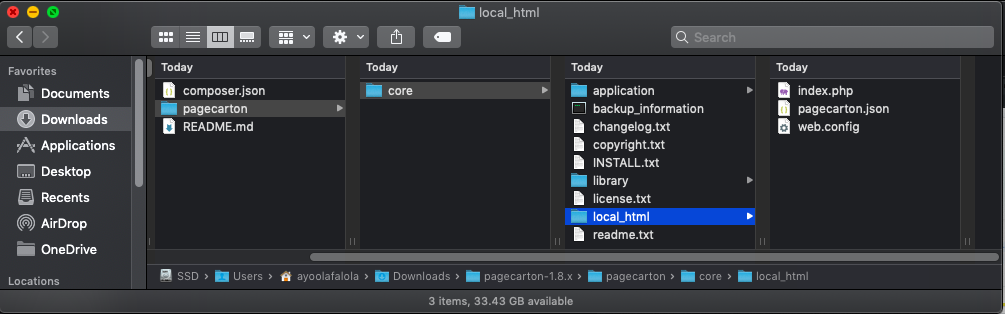
Unpack the files and ensure you have a complete "core" directory that is inside the "pagecarton" directory. This is represented in the screenshot below.
Upload PageCarton Core to Server
Unzip the core files and transfer them to somewhere on the server. Note the directory where the "core" directory is located and copy them as follows:
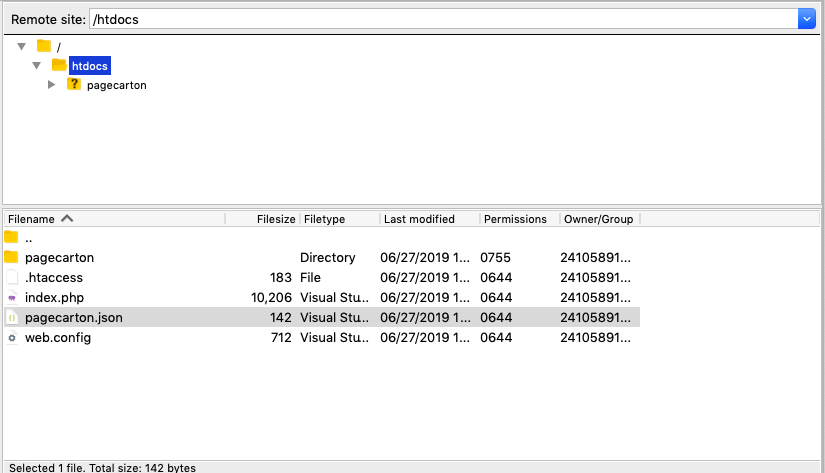
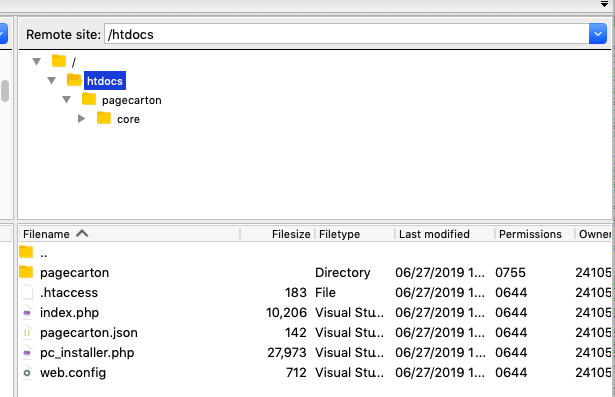
- Copy the whole "pagecarton" directory to wherever you would like it to be on the server. Just ensure you have all the correct permissions set so that the webserver user can read and write to the directory. In the example below, we will be installing directly inside the web root. See the screenshot below:
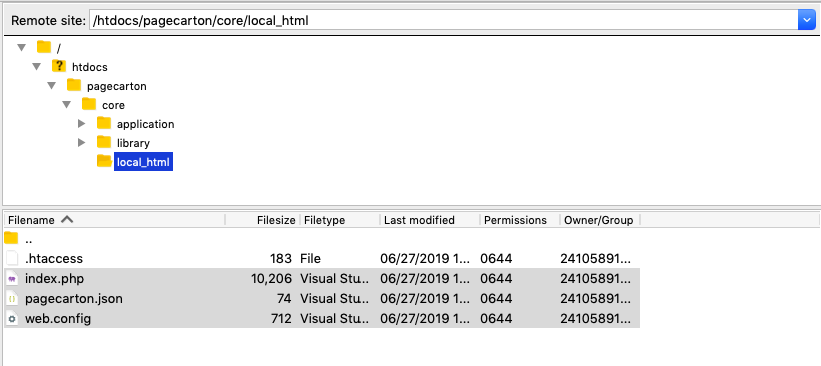
- Copy all the contents of "local_html" directory to your web root. The "local_host" is located inside "core" directory.
- Copy a file named "pc_installer.php" in "pagecarton/core/application/documents" directory to the web root, the same place where the contents of "local_html" was uploaded. This file needs to be there to make this look like a normal installation because without this, we may not be able to create the first admin user in during personalization.
Customize Configuration File
PageCarton could be hardly seen as a hard-coded system as most of the settings in it are configurable within the system itself. However, PageCarton has a configuration file which is only configurable in an external editor. The PageCarton configuration file is the JSON file that holds the hardcoded settings used in PageCarton. This is the only place where it is advisable to configure where the PageCarton is installed. The configuration file "pagecarton.json" is part of the files that was just copied from "local_html" directory to the web root. So look for "pagecarton.json" in the web root and open the file to edit its content.
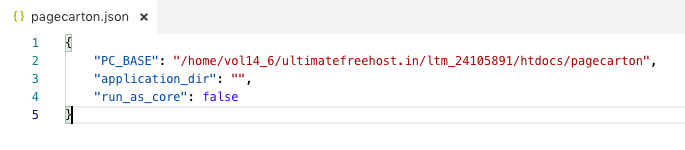
Set the "PC_BASE" to the location of the directory where "core" is located. Do not use the "core" location directly, rather use the full path to the directory holding the "core" directory, which is "pagecarton" directory in most cases. Please note that this has to be a full path to the directory. Check the provided screenshots for example. Make sure the right permissions are set on the directory so that the web server can read and write to it.
Conclusion
PageCarton is now installed in a custom directory. You can check this by now trying to load your site from the browser. If you have any issues, try to start all over again or leave a comment on the forum so we can take a look.